Replacing brake pads at home can be a cost-effective and satisfying part of car maintenance. By following a few straightforward steps, you can ensure your vehicle remains safe and performs well on the road. The process of replacing brake pads is simpler than you might think and can be done with basic tools and a little patience.
This tutorial will guide you through each step, from gathering the necessary tools to completing the job. For anyone wanting to gain some hands-on experience with DIY brake pad replacement, this is a perfect starting point. Knowing how to replace your car’s brake pads not only saves money but also gives you confidence in your vehicle’s safety.
Through this comprehensive guide, readers will learn the essential tips and tricks needed to successfully replace brake pads. Whether you’re a seasoned DIY enthusiast or new to car maintenance, the instructions provided will make the task manageable. Armed with this knowledge, you can keep your car in top condition while ensuring your own safety on the road.
Preparing for Brake Pad Replacement
Before starting the brake pad replacement process, it’s essential to understand the braking system, gather all necessary tools and parts, and set up your workspace with safety in mind. Each step contributes to a successful and secure brake pad replacement.
Understanding the Braking System
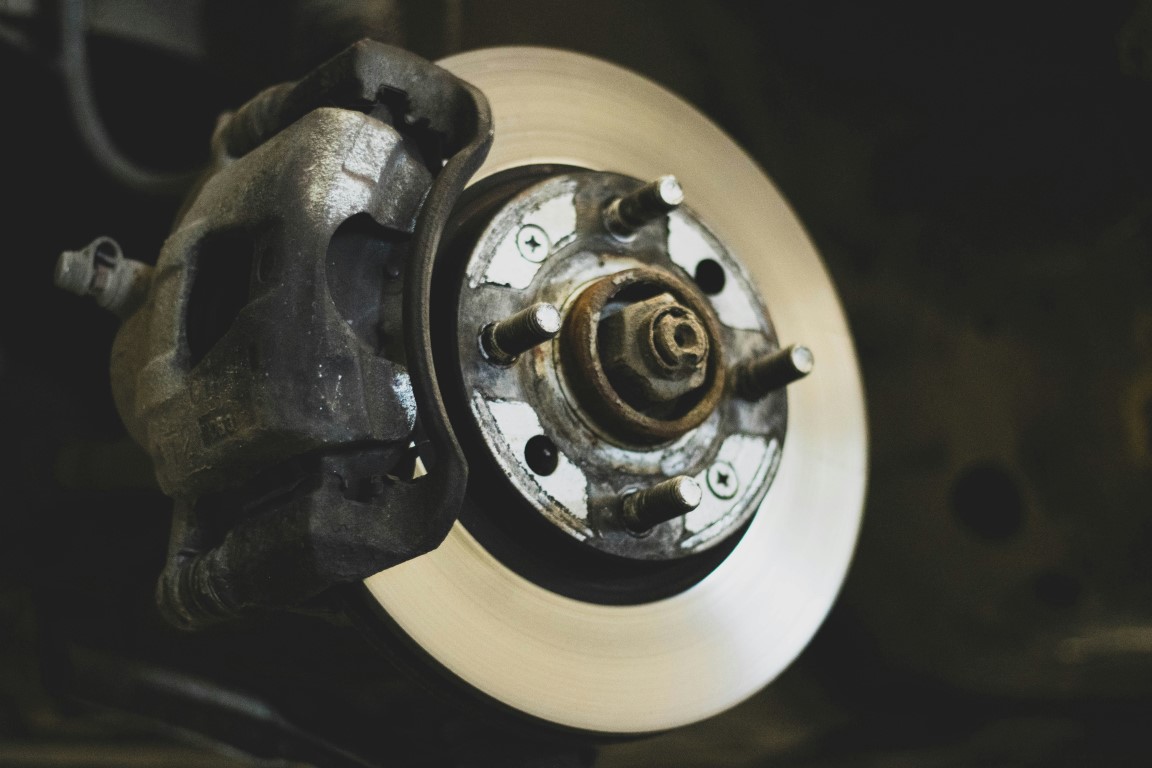
The braking system includes various components such as brake pads, rotors, calipers, and hydraulic lines. The function of brake pads is to clamp onto the rotors, creating friction that slows the vehicle. Worn brake pads can reduce braking efficiency, making replacement necessary.
Visual inspection of the brake pads is critical. Thin or worn pads indicate it’s time for a replacement. Checking the rotors for grooves or uneven wear is also necessary, as damaged rotors can affect braking performance.
Gathering Necessary Tools and Parts
The essential tools for this job include a jack, jack stands, wheel chocks, brake cleaner, lug wrench, and a ratchet and socket set. Having these on hand ensures the process goes smoothly. Specific parts needed include the new brake pads and potentially new rotors if they are worn or damaged.
It’s also wise to have replacement clips and brake lubricant. These items can help with the reassembly process and ensure that everything operates correctly once the new brake pads are installed.
Safety First: Setting Up Your Workspace
Safety is paramount when working on your vehicle. Start by parking on a flat, stable surface. Use wheel chocks to prevent the car from moving unexpectedly. The jack and jack stands are vital for raising and securely supporting the vehicle to access the brake components.
Wearing safety glasses and gloves is advisable to protect against debris and harmful substances like brake cleaner. Ensure the workspace is well-lit and ventilated to make it easier to see and reduce the risk of inhaling fumes.
Removing the Wheel
Before you can replace the brake pads, the wheel must be removed. This involves lifting the car using a floor jack and unfastening the lug nuts to secure the car.
Lifting the Car with a Floor Jack
To begin, park the car on a flat surface and engage the parking brake. This prevents any unwanted movement. Locate the jacking points on the car’s frame, often marked on the vehicle or mentioned in the owner’s manual.
Place the floor jack under the jacking point and pump the handle to raise the car. Ensure the car is lifted high enough to allow easy access to the wheel and brake assembly. Once the car is lifted, slide jack stands under the car for additional support and safety.
Unfastening Lug Nuts and Securing the Car
Start by using a lug wrench to slightly loosen the lug nuts while the car is still on the ground. This makes it easier to remove the nuts once the car is elevated. After lifting the car, finish removing the lug nuts and set them aside.
Gently pull the wheel off the hub and place it in a safe location. Make sure the car is securely positioned on the jack stands before proceeding with any further work.