DIY Automatic Transmission Fluid Change: Ensure Your Car’s Smooth Operation
Draining the Old Fluid

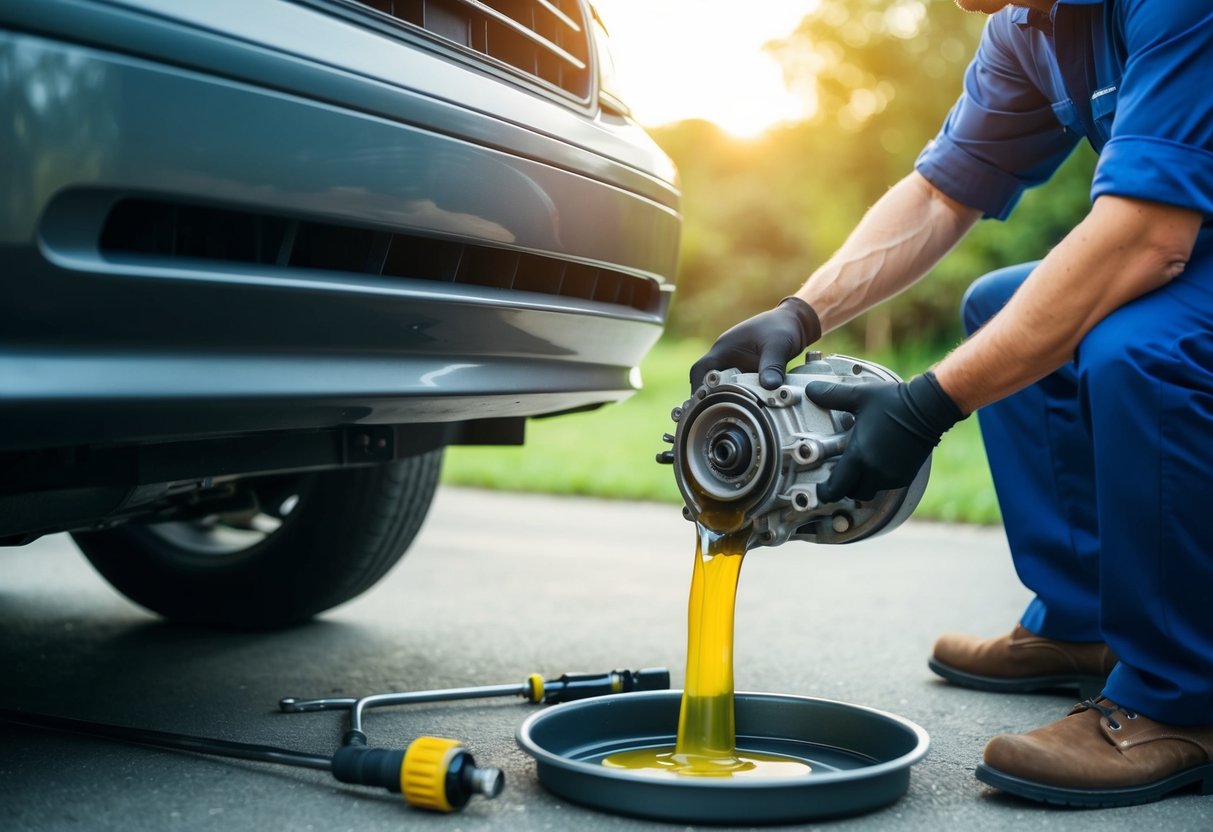
The process of draining the old fluid involves accessing the transmission pan and effectively using drain pans and plugs to ensure effective removal of fluid.
Accessing the Transmission Pan
Begin by safely lifting the vehicle using a jack and securing it with jack stands. Locate the transmission pan, which is usually rectangular and located at the bottom of the transmission. Remove any covers or shields that may obstruct access.
Use a socket wrench to loosen the bolts around the perimeter of the pan. When most of the bolts are loose, hold the pan securely to prevent it from tipping suddenly and spilling old fluid. Gently lower the pan once all bolts are removed, allowing the remaining fluid to drain out completely.
Using Drain Pan and Plugs
Position a drain pan beneath the transmission pan to catch the old fluid. If the vehicle has a drain plug, remove it and allow the fluid to flow out steadily. For vehicles without a drain plug, carefully tilt the transmission pan to pour out the fluid slowly.
Once the fluid has drained, inspect the old fluid for metal shavings or debris, indicating potential transmission issues. Replace the transmission pan gasket and fluid filter before reattaching the pan. Securely tighten the bolts in a crisscross pattern to ensure an even seal and prevent leaks.
Replacing the Filter and Gasket

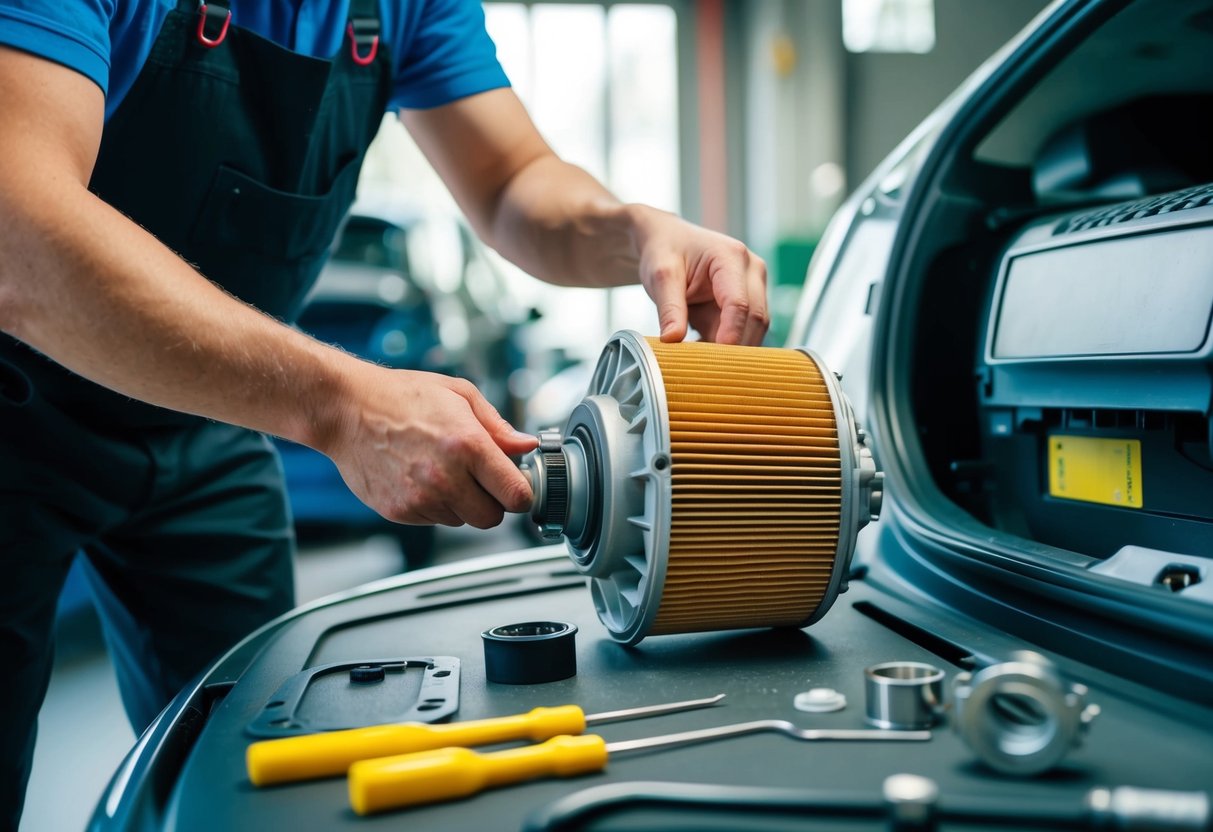
Properly replacing the filter and gasket is crucial to maintaining a clean and efficient transmission system, ensuring no contaminants enter the fluids.
Removing the Old Filter
Begin by locating the transmission pan and draining the old fluid. Once the fluid is drained, remove the transmission pan bolts carefully. With the pan removed, the transmission filter will be exposed. Gently pull or unbolt the old filter, ensuring not to spill any residual fluid.
Inspect the old filter for debris and contaminants, which may indicate internal wear or other issues. Discard the old filter properly, and clean the transmission pan thoroughly, removing any sludge or metal shavings that might be present. Check the seating area to ensure it’s clean and ready for the new filter.
Installing a New Gasket
After cleaning the pan, install the new gasket. Ensure you choose the correct gasket type for your vehicle model, which can be found at most auto parts stores. Some gaskets require special sealants, while others do not. Verify the manufacturer’s recommendations to avoid improper sealing which can cause leaks.
Position the gasket properly and align it with the bolt holes. Carefully reattach the transmission pan, tightening the bolts incrementally in a crisscross pattern to ensure even pressure and a secure seal. Once the pan is reinstalled, fill the transmission with the recommended amount of fluid and check for any leaks to ensure everything is sealed correctly.
By following these steps, you ensure a properly sealed and contaminant-free transmission system, promoting better performance and longevity.
Refilling with New Transmission Fluid
Refilling with new automatic transmission fluid (ATF) ensures the smooth operation of your car’s transmission system. Key steps involve selecting the correct ATF and using the dipstick to verify that the fluid levels are accurate.
Choosing the Correct ATF
Selecting the proper ATF is crucial for maintaining your vehicle’s performance. Different vehicles require specific types of ATF, which can be identified through your owner’s manual, auto parts stores, or dealership.
Using the wrong type of ATF can cause damage to the transmission. The fluid should be clean and typically red in color. Cloudy or brown fluid indicates contamination or aging, which necessitates a replacement to avoid potential issues. Always verify the specifications before purchasing to ensure compatibility.


