Removing the Old Air Filter

Removing your vehicle’s old air filter involves detaching the housing cover and carefully handling the old filter to avoid damaging any components.
Detaching the Housing Cover
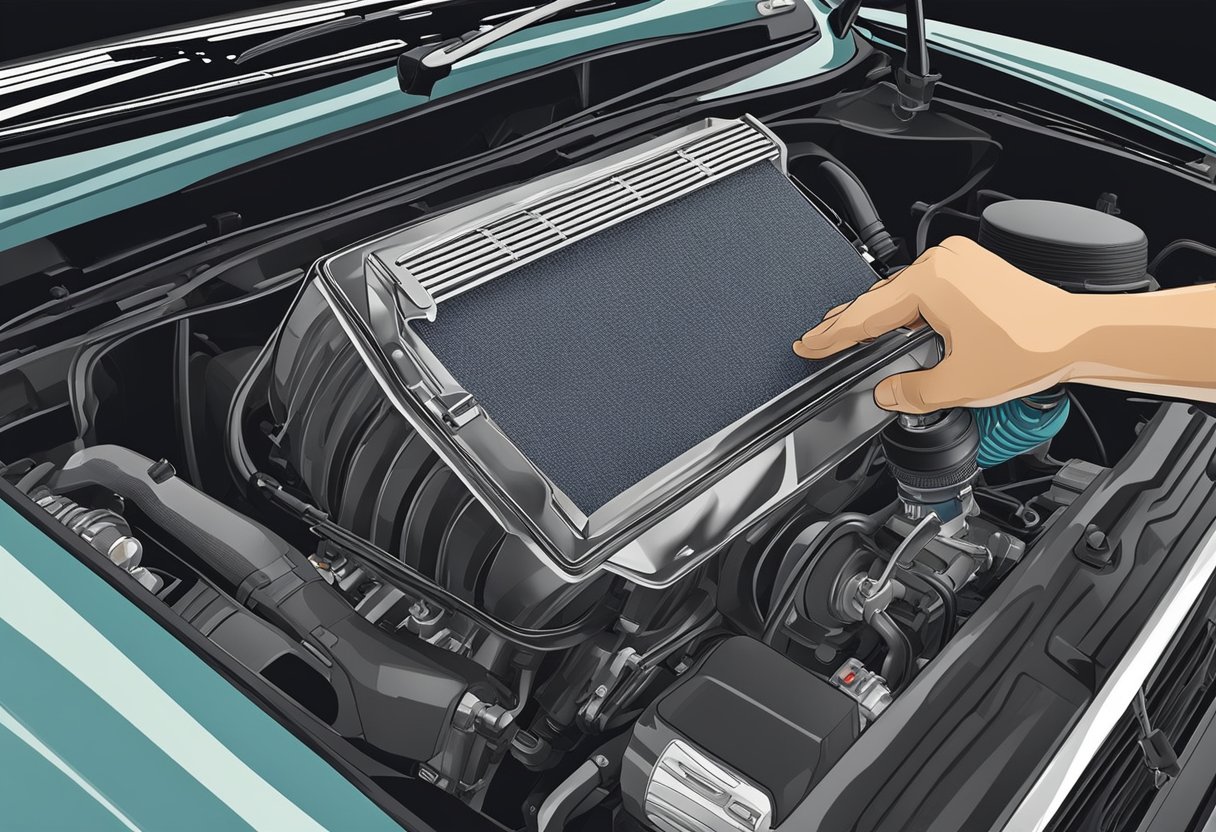
To access the old air filter, locate the air filter housing under the hood. It’s usually a black box or compartment secured by screws, clips, or clamps. First, check how the cover is secured. If it’s held by screws, use a screwdriver to loosen them. If clips or clamps are present, gently unclip or unclamp them by hand or with a small tool.
Once the fasteners are removed or loosened, lift the cover off. Keep the screws, clips, or clamps in a safe place to avoid losing them. With the cover detached, the air filter will be visible and ready for removal. It’s important to inspect the housing for any dirt or debris before proceeding.
Handling the Old Filter
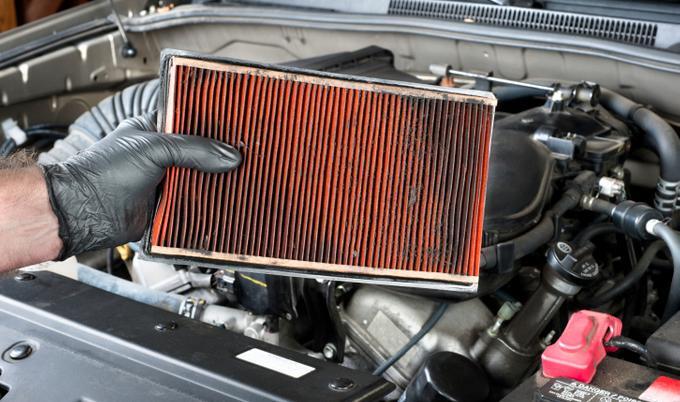
Carefully lift the old filter out of the housing. Be mindful of any dirt or debris on the filter, as you want to avoid spilling it into the compartment. Inspect the old filter for any significant damage or excessive dirt buildup, which can indicate how often it should be replaced.
Dispose of the old filter in an appropriate manner. Before inserting the new filter, wipe down the interior of the housing to ensure no residues remain. This preventive action ensures that the new filter functions optimally. Afterward, you can proceed with placing the new filter into the housing and reattaching the cover.
Cleaning the Air Filter Housing
Keeping the air filter housing clean is crucial for optimal performance. This involves removing all debris and ensuring the area is free from any dirt or dust that might affect the air filter.
Vacuuming the Housing
Start by using a vacuum cleaner with a hose attachment to remove any visible debris. It is essential to focus on all corners and tight areas where dirt can accumulate. If the area is particularly dusty, consider using compressed air to blow out particles that the vacuum may miss.
Be sure to keep the vacuum cleaner moving to avoid scratching the housing. For stubborn spots, switch to a smaller nozzle that can fit into tighter spaces. This step is vital to prevent any leftover debris from contaminating the new filter.
Wiping Down the Box
After vacuuming, use a microfiber cloth dampened with water or a mild cleaning solution to wipe down the inside of the housing box. Pay special attention to the edges and seams where dirt tends to stick. A gentle wipe should suffice; there’s no need for excessive force.
If you find it challenging to reach narrower sections, use a smaller cloth or an old toothbrush. This ensures every part of the housing is clean. Allow the housing to air dry completely before installing the new air filter to avoid any moisture-related issues.