Repairing Physical Damage

Physical damage to leather car seats often includes scratches, tears, punctures, and discoloration. Effective repair techniques can restore the leather surface and maintain the interior’s appearance.
Fixing Scratches, Tears, and Punctures
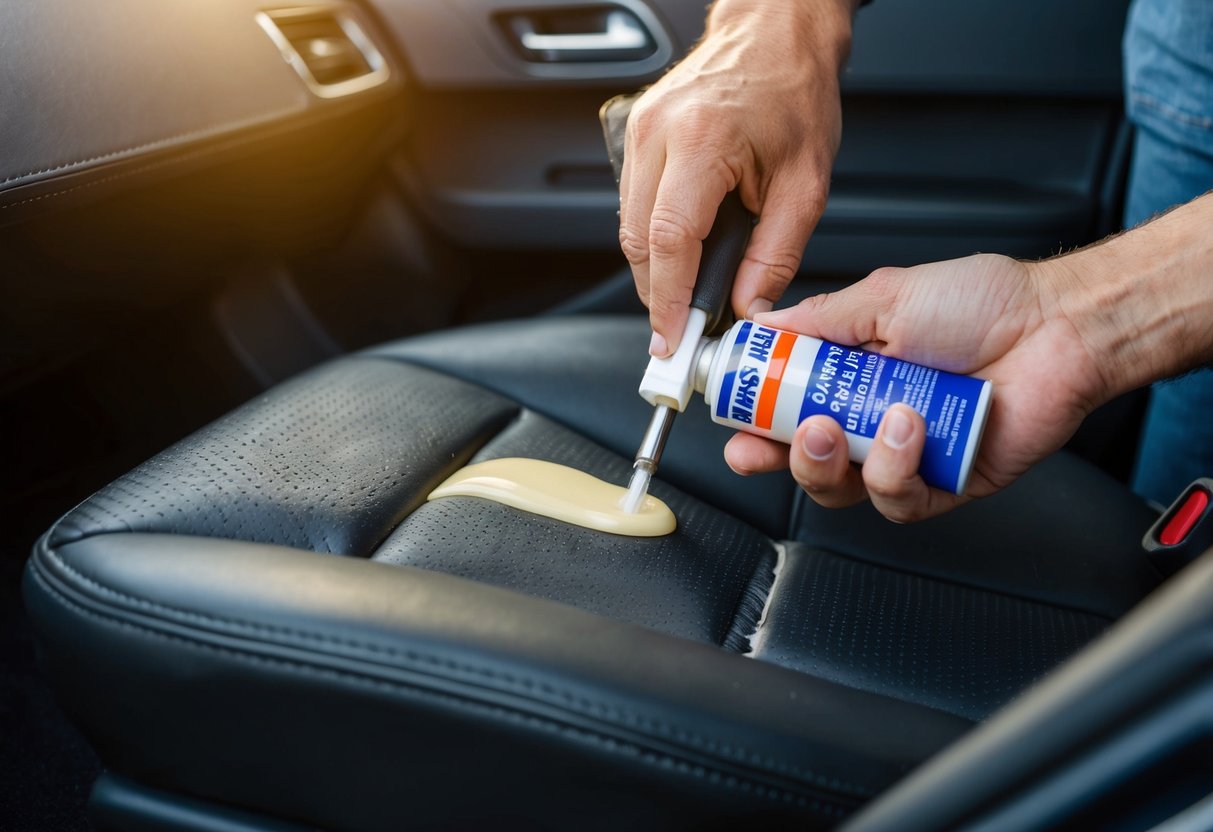
For scratches, begin by cleaning the affected area to remove any dirt. Use a mild detergent mixed with water, and carefully wipe the surface with a soft cloth. Once clean, apply a leather conditioner to soften the leather and make the scratch less visible. For deeper scratches, leather filler can be applied to restore a smooth finish.
Tears and punctures require different techniques. Small tears can be fixed using a leather patch that matches the seat’s color. Apply adhesive to the patch and press it over the tear, ensuring it sits flush with the surrounding leather. For larger tears and punctures, liquid leather is effective. Clean the area, apply the liquid leather into the damage, and use a heat tool to set it.
Dealing with Leather Discoloration
Start with a thorough cleaning of the discolored area using a leather cleaner. This removes surface dirt and grease, allowing better adhesion of repair products. After cleaning, determine the exact shade of the leather. Leather dye that matches the original color should be applied in thin layers.
When dealing with fading, multiple dye applications may be necessary to achieve an even color. For stubborn discoloration, a leather recoloring balm can be used. Apply the balm with a soft cloth, ensuring even coverage. Let it dry completely, then buff with a clean cloth to restore the leather’s shine.
Conditioning and Protecting
Conditioning maintains the suppleness and appearance of leather, while protecting guards against future damage from elements like sun exposure and daily use. Both steps are essential for long-lasting leather seats.
Application of Conditioner
Clean the leather seats thoroughly before applying a leather conditioner. Ensure the surface is free from dust and debris to allow the conditioner to penetrate effectively. Select a quality leather conditioner specifically designed for car seats. Apply a small amount to a soft cloth and gently rub it into the leather using circular motions.
Pay special attention to areas that experience the most wear, such as seat edges and armrests. Allow the conditioner to absorb into the leather for at least 15-20 minutes. Wipe away any excess conditioner with a clean, dry cloth to prevent residue buildup. The conditioning process helps restore moisture, keeping the leather soft and flexible, and reduces the chances of cracking or fading.
Using Protectants Against Future Damage
Using a leather protectant shields the conditioned seats from environmental factors. After conditioning, apply a protective product designed to repel UV rays, moisture, and dirt. This step is crucial, especially if the car is frequently exposed to sun exposure, which can lead to fading and drying of the leather.
Spray or spread the protectant evenly over the leather surface. Allow it to sit for a few minutes before gently buffing with a clean cloth. Regular application of a leather protectant offers a long-term solution for maintaining the appearance and durability of the leather car seats. This protective layer ensures that the leather remains in good condition, despite daily use and exposure to harsh conditions.