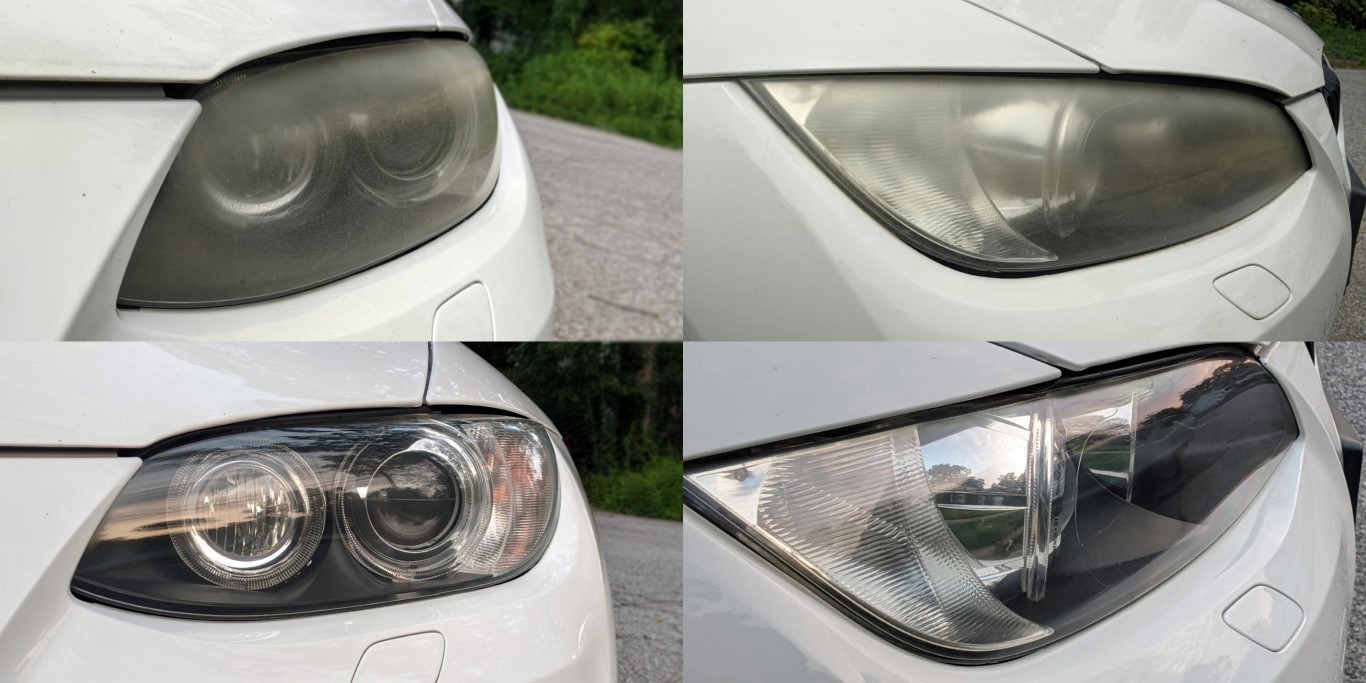
Driving at night with foggy or yellowed headlights can significantly reduce visibility, putting both the driver and others at risk. DIY headlight restoration not only enhances safety by improving visibility but also revives the aesthetic appeal of your vehicle. Over time, exposure to sunlight, dirt, and chemicals can degrade headlights, making this a common issue for many drivers.
Restoring your headlights is a straightforward process that can be done without professional help, saving you time and money. Simple materials and a bit of effort can bring back the shine, ensuring headlights look good as new. This not only brightens your night drives but also adds to the overall value of your car.
From improving night-time visibility to enhancing the car’s overall look, the benefits of headlight restoration are clear. Safety is crucial, and clear, bright headlights are essential to ensure you see the road ahead. Engaging in a DIY restoration project is an effective way to maintain both safety and aesthetics.
Why Headlights Become Dull and Cloudy
Headlights turn dull and cloudy primarily due to oxidation. The outer layer of the headlight is usually made from polycarbonate plastic, which is durable but prone to oxidation. Over time, exposure to the elements causes this material to degrade and become hazy.
Ultraviolet (UV) rays contribute significantly to this process. UV exposure breaks down the surface of the headlights, leading to a yellowish hue and cloudiness. This UV degradation happens gradually but becomes noticeable as the protective coating wears off.
Contaminants like dirt, grime, and chemicals can also hasten the dulling process. These substances can create a layer over the headlights, exacerbating the cloudy appearance. Additionally, road debris can cause small scratches and pitting in the headlight surface, which can further scatter light and reduce clarity.
Elapsed time adds to these factors. As the years pass, the combined effects of UV rays, oxidation, and physical damage can turn clear headlights into opaque, yellowed lenses. This not only affects the vehicle’s aesthetics but also impairs nighttime visibility, making driving less safe.
Climate and environmental conditions also play a role. Vehicles in sunny or coastal areas may see their headlights oxidize more quickly due to increased UV exposure and salt in the air. Knowing these factors can help one take preventative measures to keep headlights clear and bright for longer periods.
Essential Tools and Materials for DIY Restoration

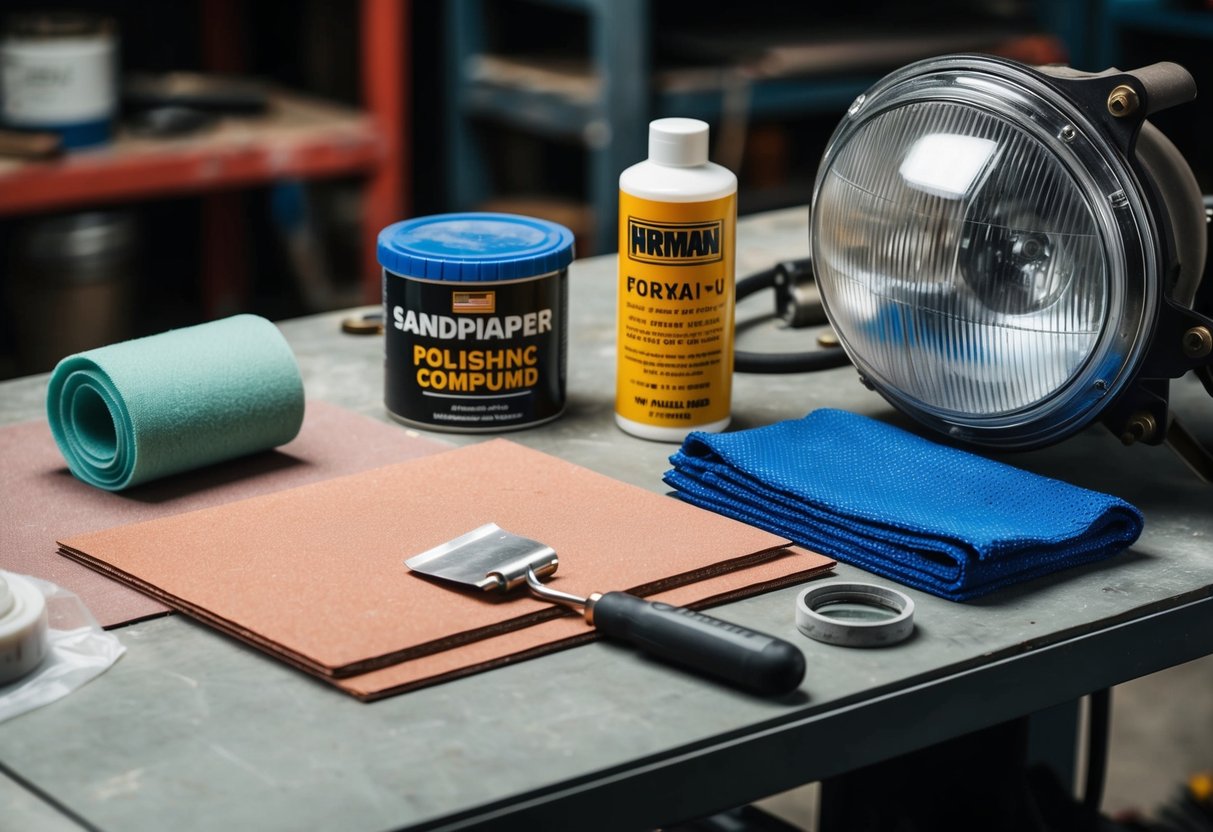
Before starting your DIY headlight restoration project, gather the necessary tools and materials. This will streamline the process and ensure successful outcomes for your headlights.
Choosing the Right Sandpaper
Selecting the appropriate sandpaper is crucial. Wet/dry sandpaper is recommended, as it can be used with water to reduce dust and minimize scratches. Typically, a variety of grits is needed, starting with a coarser grit like 600 and finishing with a finer grit such as 2000. Using a spray bottle filled with soapy water helps during the sanding process.
They should sand in a circular motion and keep the surface wet. Using masking tape around the headlights protects the car’s paint from accidental scratches. A thorough sanding sets the foundation for clarity, making this step essential.
The Role of Polishing Compounds
Polishing compounds are vital for restoring the headlight’s clarity after sanding. Choose a product specifically designed for plastic headlights. Apply the compound with a clean, microfiber towel, working in small sections.
They should rub in small, circular motions until the headlight becomes clear. A polishing machine can speed up this process, but it is not necessary. Rinse the headlight with water and wipe it dry to inspect the results. Proper use of the polishing compound ensures a clear and bright finish.