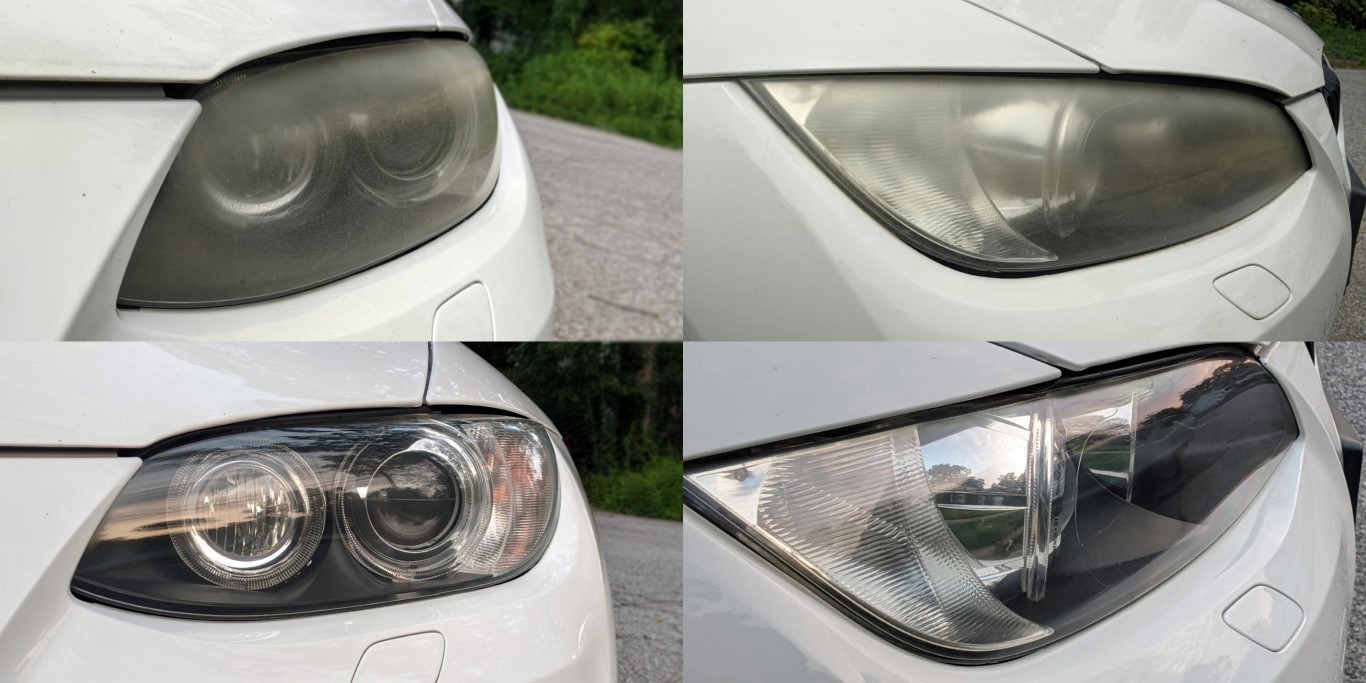
Polishing to Remove Haze and Scratches

Achieving clear, brilliant headlights requires knowing the best methods for applying polishing compounds and deciding whether to use power tools or manual labor. These key elements ensure the restoration process is efficient and effective.
Applying Polishing Compound Correctly
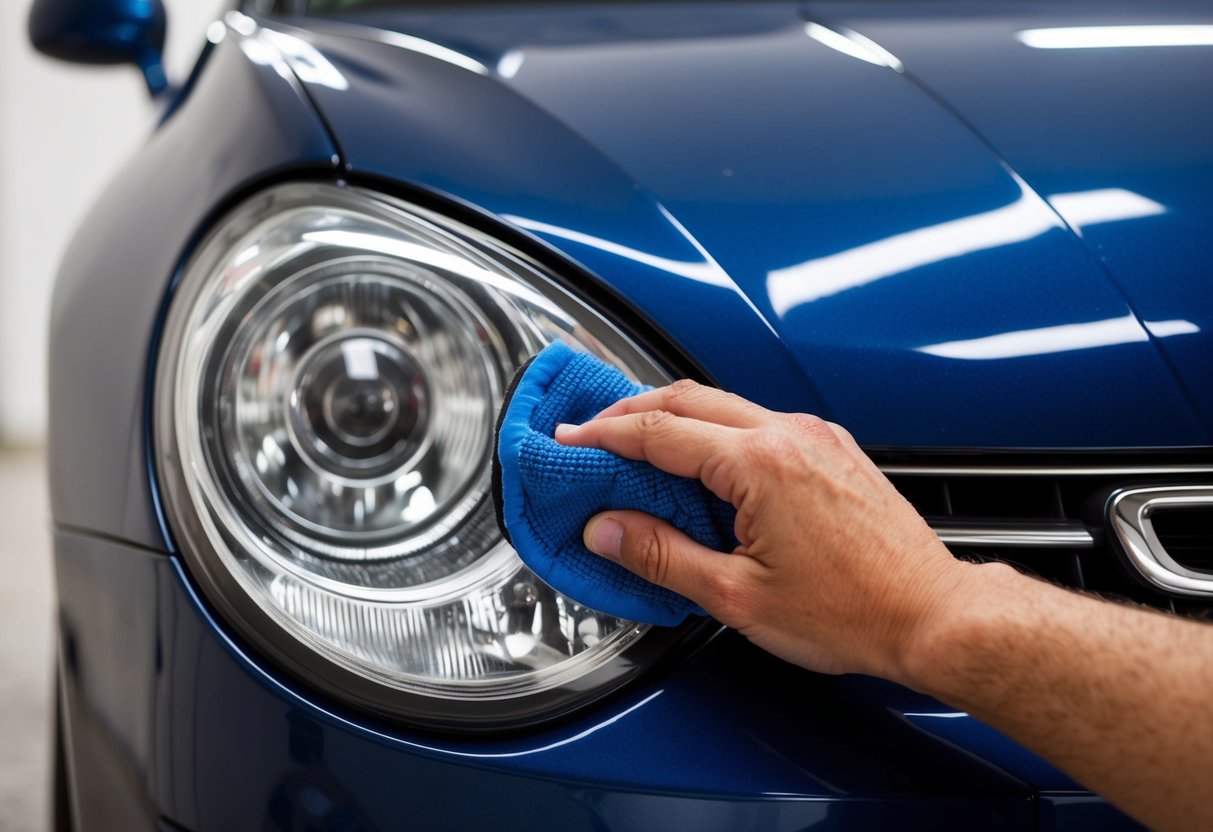
When applying a polishing compound, preparation is crucial. The headlight should be cleaned thoroughly to remove any dirt or debris. This step ensures the surface is ready for polishing. A pea-sized amount of polishing compound should be applied to a microfiber cloth or foam pad.
Using small, circular motions, the compound needs to be evenly spread over the entire headlight surface. Consistent pressure helps to cut through the haze and minor scratches. Once applied, allow the compound to sit for a few minutes, enabling it to bond to the plastic surface.
Buffing the headlight using a clean cloth, ideally another microfiber, is the next step. This action removes residual polishing compound and reveals the headlight’s improved clarity. Repeating the process may be necessary for heavily scratched or hazy headlights.
Using Power Tools vs. Elbow Grease
Choosing between power tools and manual labor, or “elbow grease,” can significantly impact the restoration process. Power tools, such as orbital buffers, offer speed and more uniform results. These tools are designed to maintain a consistent pressure and movement, reducing the physical effort required.
Manual labor, on the other hand, allows for more control over the process. It is more suitable for delicate work where precision is essential. Using one’s hands and a cloth can help apply the right amount of pressure, especially on edges and corners where power tools might struggle.
Each method has its advantages. Power tools can quickly cover large areas, making them ideal for those with experience. Manual polishing is effective for first-time restorations or when working on more delicate surfaces. Both methods can achieve excellent results when used correctly.
Applying a Protective Sealant for Longevity
Using a protective sealant ensures that your newly restored headlights remain clear and bright, safeguarding them against UV radiation, debris, and weather damage.
Choosing the Right Sealant
When selecting a sealant, it’s important to choose one specifically designed for headlight protection. UV sealants are ideal as they protect against ultraviolet radiation, which is a major cause of headlight yellowing. Clear coats offer a durable layer of protection. Ceramic coatings, known for their longevity, provide a tough barrier against environmental elements and offer hydrophobic properties that repel water and dirt.
Reviewing product labels and customer reviews helps in making informed choices. Products with a transparent finish maintain the aesthetic of the headlights. It’s essential to avoid wax-based sealants as they may not offer long-term protection against UV damage. Reliability and ease of application are also crucial factors to consider.
Application Techniques for Sealant
Proper application ensures the sealant’s effectiveness. Start by cleaning the headlight surface thoroughly and ensuring it is completely dry. Apply the sealant in a thin, even layer using a microfiber cloth or applicator pad. Follow the product’s instructions on drying time and additional coats. Some sealants may require curing under sunlight for optimal results.
For ceramic coatings, multiple layers might be necessary, and they often need a bit more effort to apply but offer superior protection. Patience and attention to detail during the application process ensure a long-lasting protective coating. Regular maintenance and reapplication, as recommended by the manufacturer, help in sustaining the headlight clarity.