Removing Necessary Components
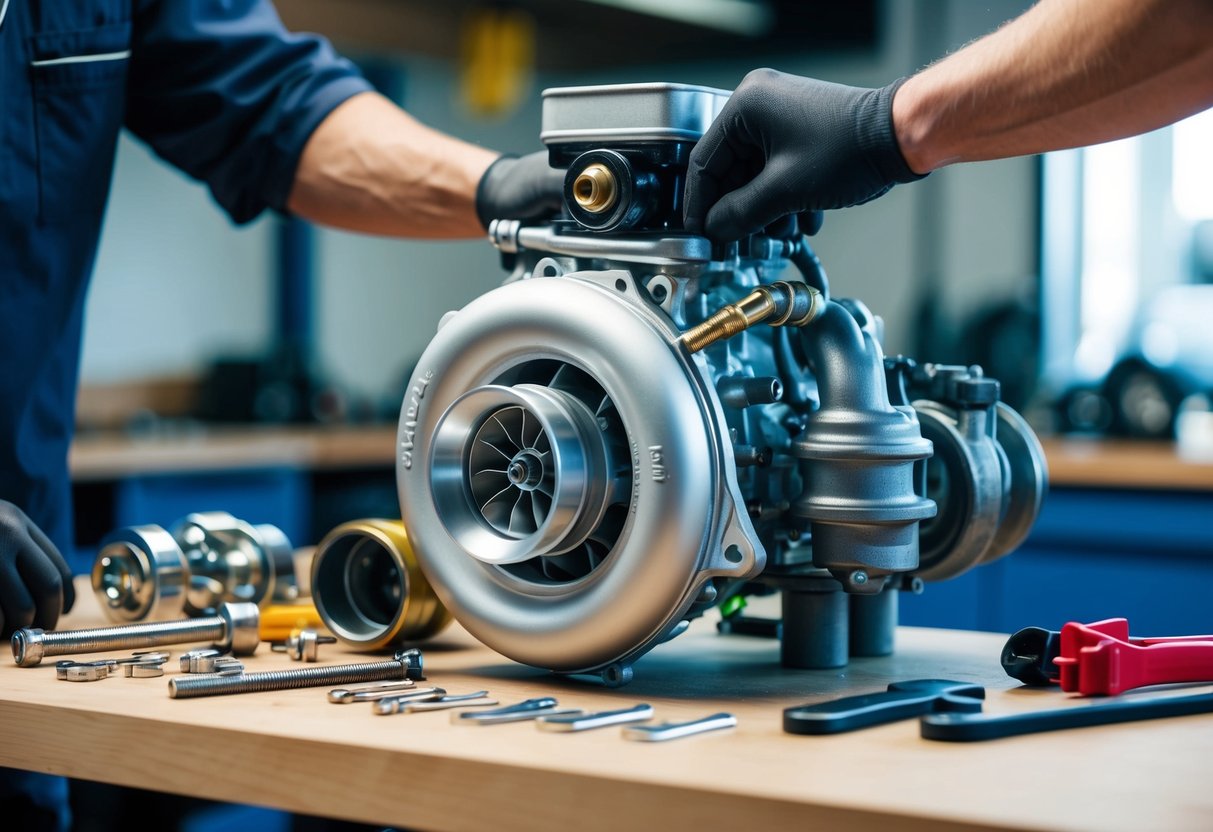
To make room for the turbocharger, various components such as the air intake system, intercooler, and any pre-existing turbo or supercharger system (if applicable) need to be removed. The process generally starts with detaching the air intake system, which might involve loosening clamps and bolts.
Following that, the exhaust manifold should be carefully detached. Use the appropriate tools to remove bolts and gaskets, ensuring not to damage the manifold or surrounding parts. Additionally, if space is limited, it might be necessary to move or temporarily remove other components like coolant and oil lines. Ensuring these components are safely stowed or supported will prevent damage or loss.
Turbocharger Mounting

Proper mounting is crucial for optimal and safe performance of the turbocharger. Key areas to focus on include firmly securing the turbo to the manifold and ensuring a good seal to prevent leaks.
Securing the Turbo and Manifold
Mounting the turbocharger to the manifold begins with properly aligning the flange surfaces. Clean both the turbo and manifold flanges to remove any oil, dirt, or debris. Use new bolts and ensure they are tightened in a crisscross pattern to distribute pressure evenly.
Verify that the turbo is correctly positioned before fully tightening the bolts. Misalignment can lead to issues like exhaust leaks or reduced performance. Check for any signs of improper fitment, such as gaps or uneven pressure, and make adjustments as needed.
Ensuring Proper Sealing
Ensuring a proper seal between the turbocharger and manifold is imperative. Always use a new gasket when mounting. Inspect the gasket for any signs of wear, tears, or defects before installation. Place the gasket carefully between the turbocharger and manifold, making sure all holes align perfectly.
Uniformly tightening the bolts to the manufacturer’s specified torque settings is essential for creating a reliable seal. Recheck the seal after the initial heat cycle of the engine, as differential expansion can sometimes compromise the seal. A good seal will help in maintaining pressure, thereby contributing to better turbo performance.
Oil and Coolant Connections
Proper oil and coolant connections are essential for the longevity and efficiency of a turbocharger, ensuring reliable lubrication and optimal cooling. Taking careful steps during installation can prevent potential issues like overheating and oil leakage.
Oil Supply and Drain Setup
An adequate oil supply is critical for the turbocharger’s lubrication. The oil feed line, often attached to the engine block, should be securely connected to the turbo’s oil inlet. Using high-quality, heat-resistant lines is recommended to avoid leaks and degradation.
The oil drain setup is equally important, as poor drainage can lead to oil clogging. The drain line should be as straight as possible, minimizing bends. It must also slope downward without obstructions to allow gravity to assist in efficient oil return to the engine. Ensure the drain line is connected to a well-ventilated area to prevent pressure buildup.
Cooling System Integration
The cooling system in a turbocharged setup works to reduce the operating temperature, thus preventing overheating. The turbo’s coolant lines connect to the engine’s cooling system, which includes the radiator and intercooler. It’s crucial to integrate these lines correctly to maintain effective cooling.
Attention must be paid to the routing of coolant lines to avoid kinks or sharp bends that might obstruct flow. Utilizing silicone or similar high-performance hoses can enhance durability and thermal resistance. Additionally, ensuring the intercooler is adequately positioned can significantly improve the cooling efficiency by lowering the temperature of the charged air entering the engine.