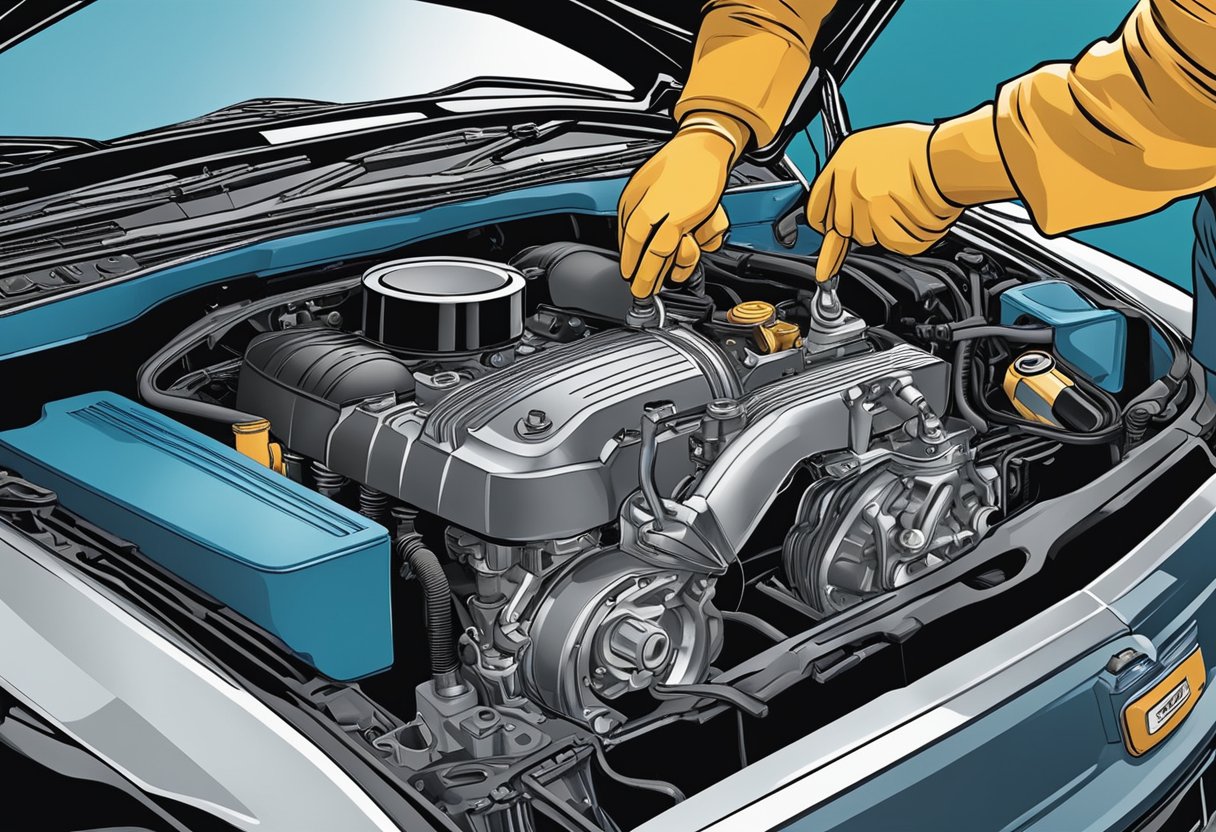
How to Change Your Car’s Oil: Essential Steps for Beginners
Selecting a Compatible Oil Filter
The oil filter plays a critical role in keeping impurities out of the engine oil. It’s necessary to replace the old filter with a new filter during an oil change. Consult your car’s manual to find the compatible filter specifications, ensuring it matches the engine’s requirements.
There are different types of filters, including standard, premium, and synthetic. Premium filters generally offer better filtering capabilities and longer service intervals. An oil filter wrench can be an invaluable tool for removing the old filter, as it provides the grip needed for a secure hold.
Always compare the new filter with the old filter before installation to make sure it’s the correct size and fit. Proper installation of a compatible oil filter aids in maintaining engine cleanliness and longevity.
Draining the Old Oil
Draining your car’s old oil involves finding the oil drain plug and properly removing the used oil from the oil pan. Following precise steps ensures a clean and efficient oil change.
Locating the Drain Plug
To start, identify the oil drain plug on the underside of the oil pan. It is typically a metallic bolt located at the lowest point of the oil pan. Ensuring the car is safely lifted using jack stands or ramps is crucial for this step.
Take a wrench or socket set to match the size of the drain plug. This fitting ensures you avoid stripping the bolt. Properly positioning the oil catch container beneath the plug also prevents spillage.
Removing the Used Oil
After locating the oil drain plug, begin the removal process. Use the wrench or socket to loosen the plug by turning it counterclockwise. Once loosened, carefully remove the plug by hand to let the old oil flow out into the prepared container.
Allow the used oil to drain fully, which typically takes a few minutes. Observing safety practices, keep your hands and face clear of the draining oil. Once the flow reduces to a drip, the oil pan is mostly emptied, making it ready for the next steps in the oil change process.
Replacing the Oil Filter

Replacing the oil filter involves removing the old filter using a specialized wrench and installing a new one securely. It is crucial to lubricate the gasket of the new filter to ensure a proper seal and prevent leaks.
Detaching the Old Oil Filter
To begin, locate the oil filter, which is usually cylindrical and can be found near the engine block. Using a filter wrench, grip the old oil filter firmly and turn it counterclockwise. This might require some effort, especially if it has been tightly secured.
Once loose, carefully unscrew the filter by hand. Be prepared for some oil spillage, so position a drain pan underneath to catch any drips. Place the old oil filter in the pan and allow it to drain completely.
Installing the New Oil Filter
Before installing the new oil filter, inspect it to ensure it matches the old one. Apply a thin layer of fresh oil to the gasket on the new filter. This step is essential for creating a proper seal and preventing leaks once installed.
Carefully screw the new oil filter into place by hand, turning it clockwise until it is snug. Avoid using a wrench for this part to prevent over-tightening, which can damage the gasket. After the filter is secure, double-check for any leaks or loose fittings.


