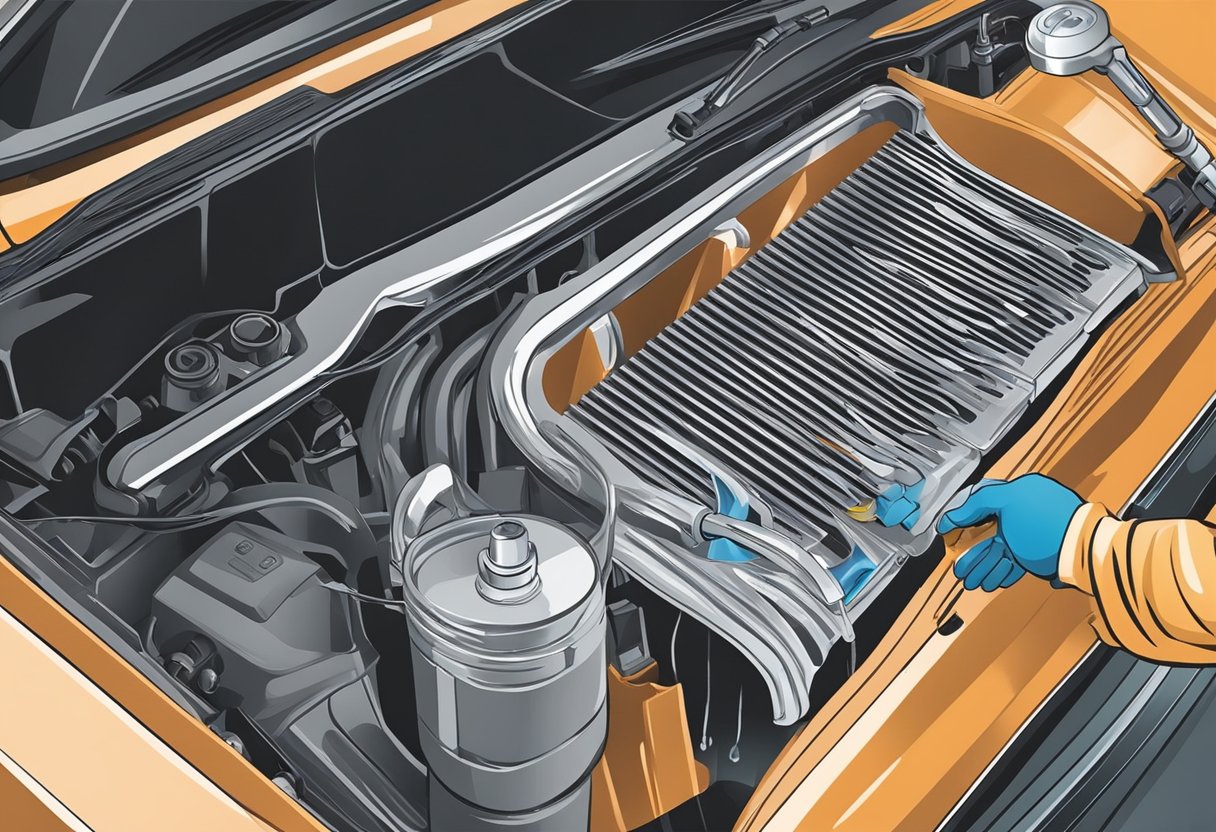
How to Flush Your Car’s Radiator in 5 Easy Steps: A Simple Guide for DIY Maintenance
Removing Radiator Cap and Draining Fluid
Once you’ve located the drain plug, the next step is to remove the radiator cap. This action helps in releasing any built-up pressure within the system, making draining smoother. Remember, the cap should be removed slowly to avoid a sudden release of hot fluid or steam.
Place a container beneath the drain plug to catch the old coolant. Open the drain plug carefully, allowing the fluid to flow out. If the fluid drains slowly, it may be due to sediment blocking the passage. Once the coolant has been fully drained, ensure that the collected fluid is disposed of following local regulations.
Completing these steps ensures the old coolant, along with any debris or sediment, is effectively removed, preparing the system for a fresh fill of coolant.
Flushing the System with Water
Properly flushing a car’s radiator involves using clean water to remove old radiator fluid and contaminants. This ensures the cooling system operates efficiently.
Connecting Garden Hose
To start, locate the radiator’s lower hose and attach a garden hose. Ensure a secure connection to avoid leaks. The engine should be cool before starting this process to protect against scalding.
Open the radiator cap on top and the drain plug at the bottom. This allows old fluid to flow out. Direct the other end of the garden hose into the radiator’s fill neck. This setup allows fresh water to enter the system and flush out old fluids.
Running Clean Water Through
Turn on the garden hose to let clean water flow through the system. Monitor the water exiting the drain until it runs clear, indicating the system is free of contaminants.
Using distilled water for this step is recommended as it lacks minerals that can cause deposits. Repeat the process if necessary to ensure complete flushing. Once satisfied, close the drain plug, detach the garden hose, and refill the radiator with new coolant.
Adding New Coolant to the Radiator

After draining the old coolant, it is essential to properly mix and add the fresh coolant to protect and cool the engine efficiently.
Mixing Coolant and Distilled Water
Most engine coolants require mixing with distilled water before being added to the radiator. Always consult the vehicle’s owner manual for the correct coolant-to-water ratio, typically 50:50. This ratio ensures optimal antifreeze properties and heat transfer efficiency.
Fresh coolant comes in either pre-mixed form or concentrated form. If using concentrated coolant, measure an equal amount of distilled water to mix with it. Using tap water is discouraged due to potential mineral build-up that can harm the engine.
Pour the coolant and distilled water into a clean container. Stir thoroughly to ensure the solution is properly blended. This mixture will now be ready for adding to the radiator.
Pouring the Fresh Coolant
With your pre-mixed coolant ready, locate the radiator cap, usually found near the front of the engine. Ensure the engine is completely cool to avoid burns. Slowly remove the radiator cap, allowing any residual pressure to escape.
Using a funnel can help avoid spills while pouring the fresh coolant into the radiator. Fill carefully until the coolant reaches the maximum fill line. Monitor the coolant level, topping up if necessary as air bubbles dissipate.
Once filled, replace the radiator cap securely. Start the engine and let it idle for a few minutes, allowing the new coolant to circulate through the system. Check the coolant level again and add more if it has dropped. Properly replacing coolant ensures efficient engine cooling and protection against overheating.


