How to Repair a Car’s Paint Scratches: DIY Tips for a Flawless Finish
Applying Primer and Paint

Priming and painting are crucial steps in repairing car scratches. Each process involves specific materials and techniques that ensure a smooth and durable finish.
Utilizing Primer Layer
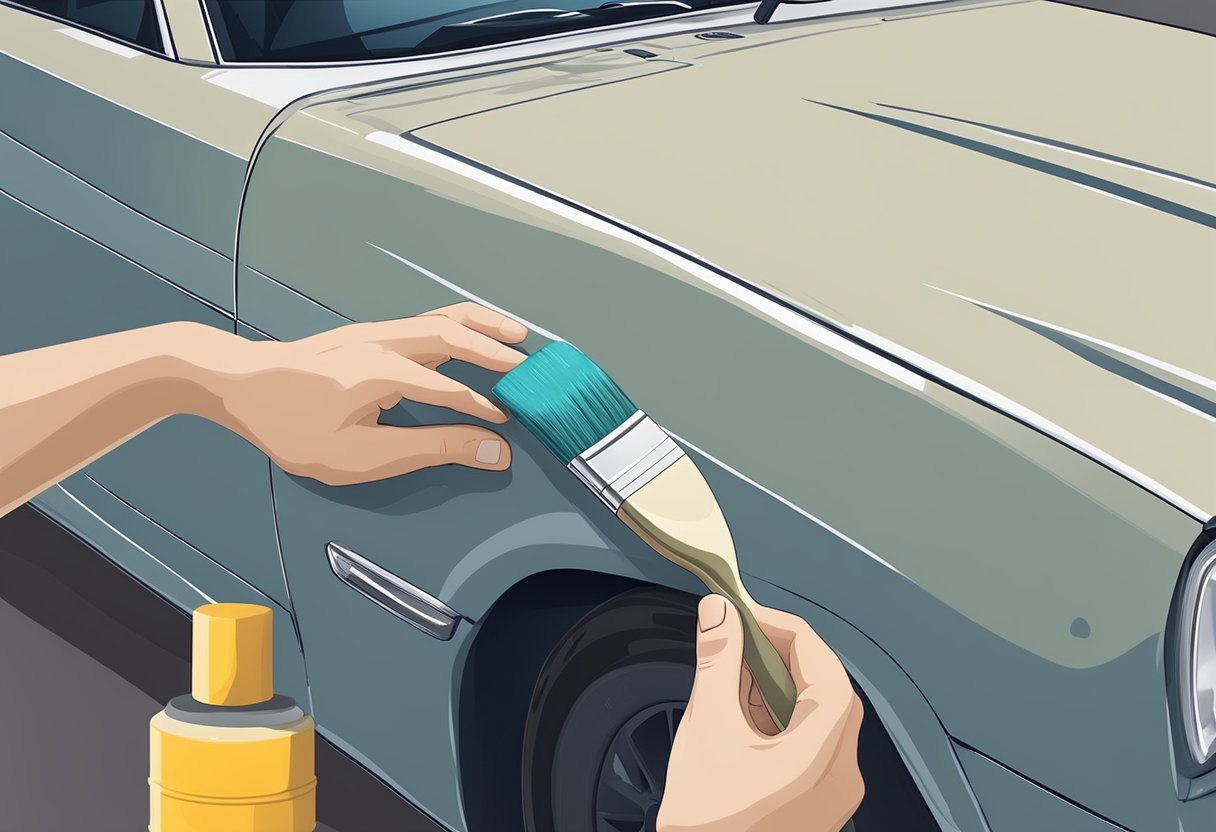
Priming a scratch begins with clean and sanded surfaces. Dust and grease can interfere with adhesion, so they must be removed using a degreaser. Spray primer is ideal for an even application, but a brush can be used for smaller areas. It’s essential to apply the primer in thin, even coats, allowing each layer to dry completely before adding the next. Usually, two to three layers are sufficient. Between coats, lightly sanding with fine-grit sandpaper ensures a smooth surface and helps the following layers adhere better.
After the final primer layer is dry, it should be sanded again to ensure the surface is smooth and ready for paint. The primer not only prepares the surface but also prevents rust and ensures that the paint adheres properly.
Touching Up with Paint
Once the primer is set, the scratch is ready for touch-up paint. Matching the car’s paint color precisely is essential for a seamless repair, which can be achieved using the car’s color code. Application methods vary, with some preferring spray paint for larger areas and a paint pen or small paintbrush for smaller scratches.
The paint should be applied in thin, even coats, just as with the primer. It’s crucial to allow each coat to dry fully before applying the next one. Multiple coats might be necessary to match the existing paint. After the final coat, the paint should cure completely before any polishing or waxing is done.
Polishing for Perfection
Achieving a flawless shine requires selecting the right compounds and applying the correct techniques. Precision and attention to detail are key elements in ensuring a seamless finish.
Selecting the Right Compounds
Choosing the correct polishing compounds plays a crucial role. For deeper scratches, a rubbing compound is effective, typically containing more abrasive materials that help to smooth out the surface. These compounds can remove imperfections and prepare the area for finer polishing steps.
Polishing compounds, less abrasive than rubbing compounds, refine the surface further to bring out the natural shine of the paint. Selecting the appropriate compound depends on the extent of the damage and the desired finish. Applying the wrong compound may not address the scratches effectively, making informed choices imperative.
Attaining a Seamless Finish
Achieving a seamless finish involves a few precise steps. First, after selecting the right compounds, apply them using a soft cloth or pad, employing a consistent circular motion. This technique ensures even distribution and minimizes noticeable marks.
Utilizing a polishing machine enhances the uniformity and efficiency of the process, but manual polishing can also yield excellent results. Gradually reducing the abrasive level of the compounds as you polish creates a smoother and shinier surface. Close inspection under varying light conditions can help detect and correct any remaining imperfections.
Remaining patient and careful throughout the process guarantees that the car’s paint looks nearly as good as new, with minimal evidence of prior scratches.


