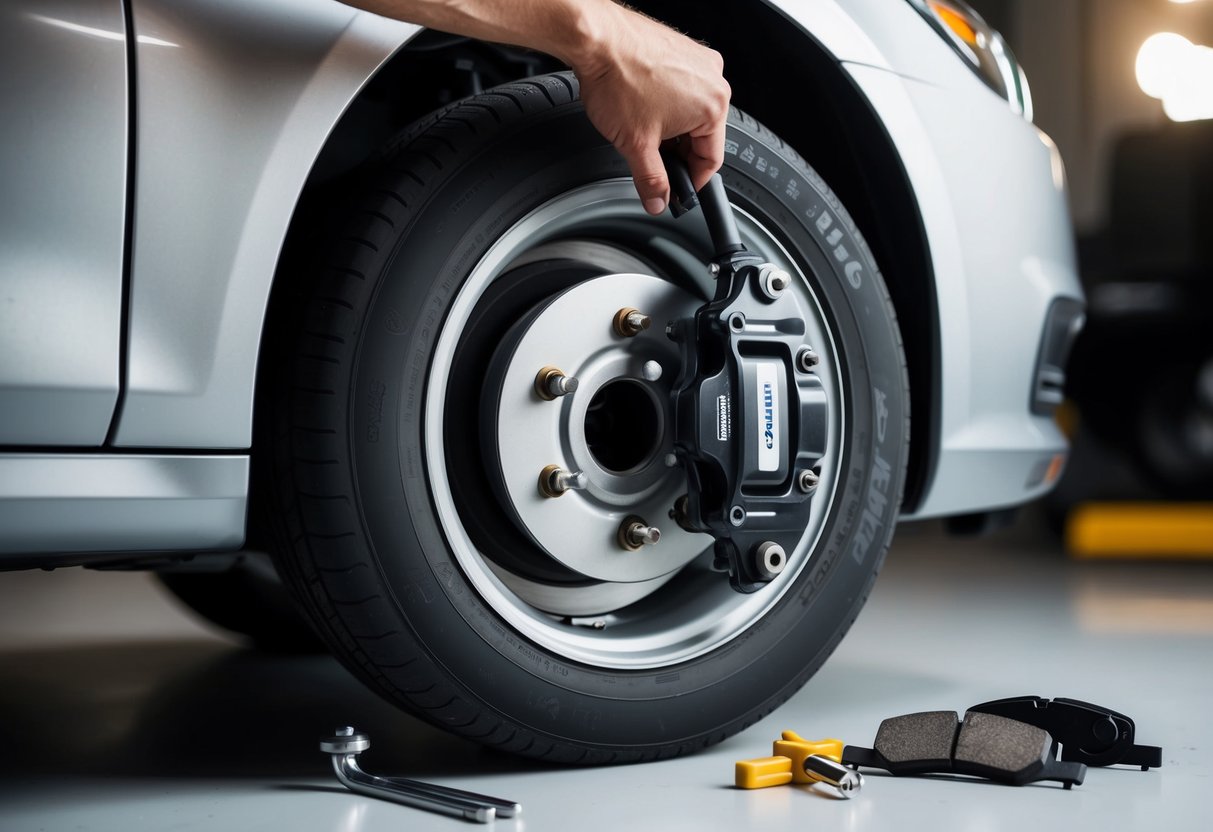
How to Replace Brake Pads at Home: A Step-by-Step Guide for Safety and Efficiency
Inspecting Brake Components
Before replacing brake pads, it’s essential to inspect various components to ensure they are in good condition. These inspections can help identify underlying issues and prevent future problems.
Examining Brake Pads and Rotors
Begin by removing the wheel to gain access to the brake system. Inspect the brake pads first. They should have a minimum thickness of around 3-4 millimeters. Thin brake pads can lead to decreased braking performance and potential damage to the rotors.
Next, examine the brake rotors. They should be free of significant grooves or scoring. Run a finger along the surface to check for uneven wear or deep marks. If the rotors are damaged, they might need resurfacing or replacement. Additionally, look for signs of discoloration, which could indicate overheating issues.
Checking for Wear and Damage
After examining the pads and rotors, check the brake calipers. Make sure they move freely and are not seized. A stuck caliper can cause uneven wear on the brake pads, reducing their effectiveness. Also, inspect the brake lines for any signs of leaks or cracks.
Listen for any grinding noises when the brakes are applied. This could indicate that the brake pads are worn down to the metal. Uneven wear patterns on the brake pads can suggest issues with the calipers or rotors. Addressing these problems early can save money and enhance safety.
Brake fluid levels should also be checked. Low brake fluid can affect braking performance and might signal a leak in the system. Ensure the brake fluid is clean and free of contaminants.
Removing the Brake Caliper

In this section, the focus will be on detaching the caliper bolts and securing the caliper itself. These steps are crucial to ensure the brake system can be safely and efficiently serviced.
Detaching the Caliper Bolts
Begin by locating the caliper bolts, which are typically found at the back of the brake caliper. These bolts hold the caliper to the bracket and need to be removed carefully. Using a compatible socket or wrench, turn the bolts counterclockwise. It may require some effort if the bolts are tight, so ensure a firm grip.
After loosening, remove the bolts completely and set them aside in a safe place. Be mindful of the brake fluid line attached to the caliper. Avoid stressing it or causing any damage. This is a critical step to prevent further issues during the brake pad replacement process.
Securing the Caliper with a Bungee Cord
Once the caliper bolts are removed, the brake caliper can be lifted off the rotor. Use both hands to support it, as it can be relatively heavy. Carefully move the caliper without stretching or twisting the brake line.
To prevent any damage, secure the caliper using a bungee cord. Attach one end to the caliper and the other to a sturdy part of the car’s suspension. This ensures that the brake line remains unharmed and out of the way while performing further maintenance on the brake pads. Properly securing the caliper is essential to avoid any unnecessary strain on the brake line.


