How to Replace Brake Pads at Home: A Step-by-Step Guide for Safety and Efficiency
Replacing Old Brake Pads

Replacing old brake pads is crucial to maintaining your vehicle‘s safety and performance. This part focuses on removing worn-out pads and preparing new ones for installation.
Taking Out Worn Brake Pads
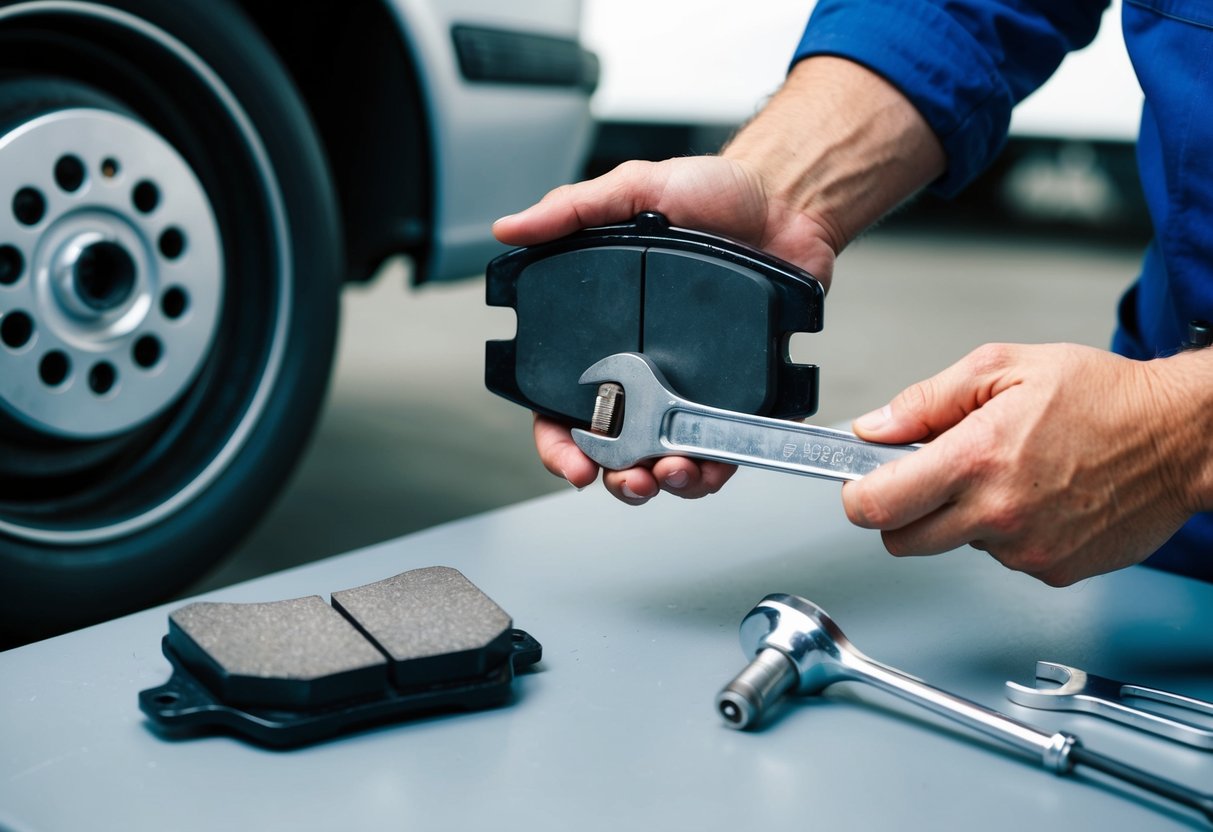
To start, ensure the vehicle is securely lifted and stable. Remove the wheel to access the brake assembly. The brake caliper must be unbolted using a wrench or socket set. It is advisable to hang the caliper using a bungee cord to avoid strain on the brake line.
Next, the clips holding the brake pads in place need to be carefully removed. This will allow you to slide out the worn brake pads smoothly. Check the rotor for any damage or wear and decide if it requires replacement or machining. The clips may also need to be replaced if they show signs of damage or excessive wear.
Preparing the New Brake Pads
Before installing the new brake pads, clean the caliper and other brake components. Use brake cleaner to ensure no debris affects the installation. Compare the new brake pads to the worn ones to ensure they match in size and shape. Attach new clips if provided, as they help in holding the pads securely.
Apply a thin layer of brake lubricant to the back of the new pads. This reduces noise and aids in smooth operation. Insert the new brake pads into the caliper bracket with care, ensuring they are properly seated. Lastly, reattach the caliper over the new brake pads and tighten the bolts to the manufacturer’s specifications. Reinstall the wheel and lower the vehicle before testing the brakes.
Servicing the Caliper Assembly
Servicing the caliper assembly is a vital step when replacing brake pads. This involves cleaning, lubricating components, and retracting the caliper piston to ensure smooth operation and proper fit.
Cleaning and Lubricating Components
To begin, use a wire brush to remove any rust or debris from the caliper. Pay special attention to the areas where the brake pads come into contact. This will promote even wear of the pads and prevent sticking.
Next, inspect the caliper sliders and pins. If they appear corroded or dirty, clean them thoroughly. Apply a suitable brake grease to these components to ensure they move freely. This step is essential to avoid uneven braking and premature pad wear.
Lastly, check for any damage to rubber components such as the caliper boots. Replace them if necessary to maintain the integrity of the assembly and prevent contamination of lubricated parts.
Retracting the Caliper Piston
Retracting the caliper piston is necessary to make space for the new brake pads. Use a brake caliper tool or a C-clamp for this task. Place the tool or clamp over the piston, and slowly retract it by turning the handle or screw.
Ensure that the piston moves back smoothly without resistance. If it feels stuck, double-check for debris or damage before proceeding. This step is crucial for proper fitting and functioning of the new pads.
Additionally, inspect the brake fluid level after retracting the piston. Retracting will push fluid back into the master cylinder, and overfilling could cause spillage. Adjust the fluid level if needed to maintain safe operation.


