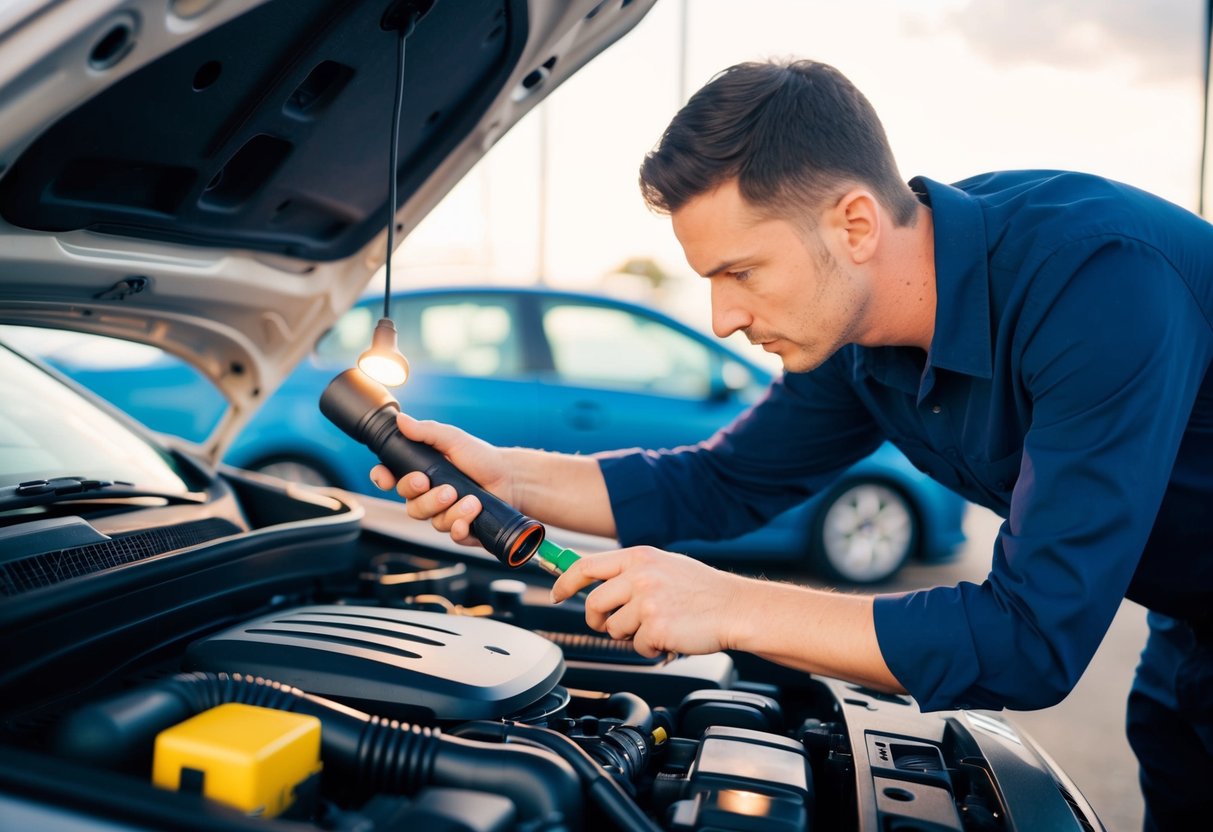
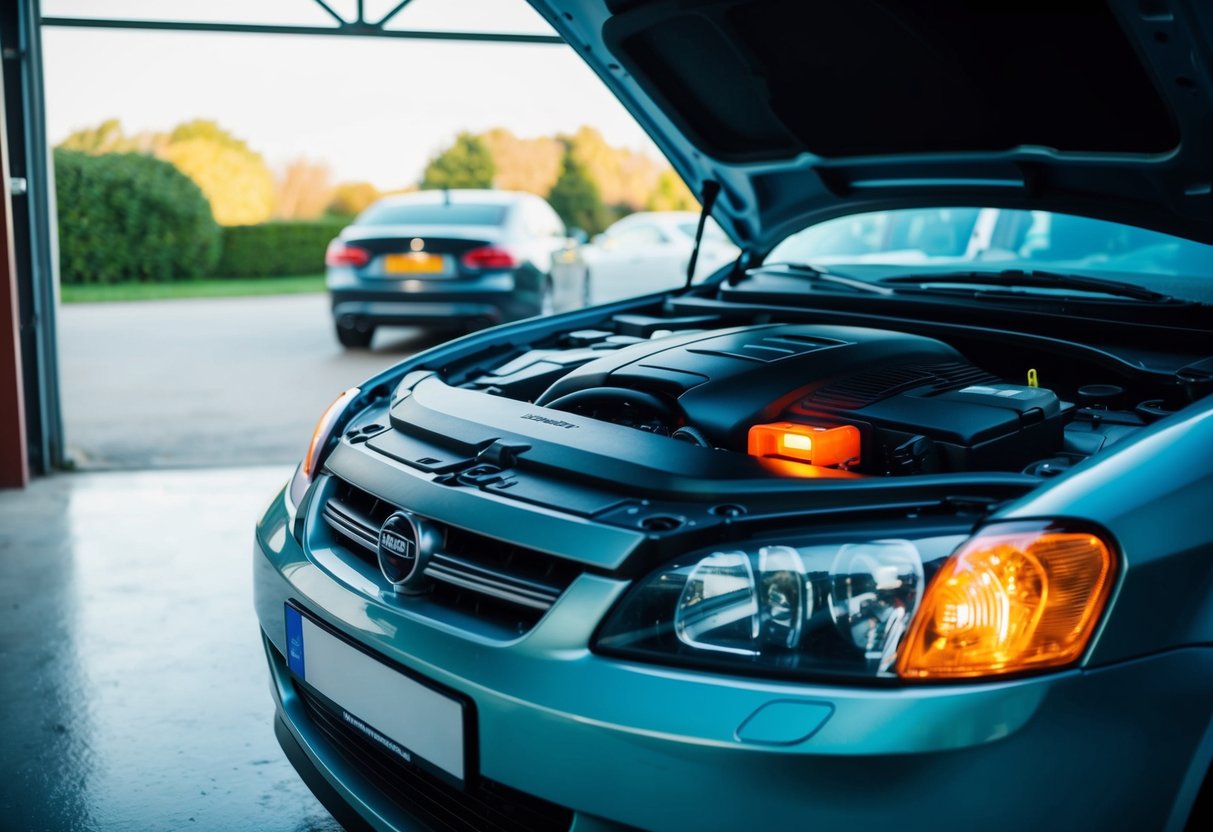
How to Troubleshoot and Fix a Check Engine Light: Essential Steps for Every Driver
Initial Steps to Take When Your Check Engine Light Comes On

When a check engine light illuminates the dashboard, it’s crucial to remain calm and methodically address potential issues. Focus on simple and common causes first to potentially avoid more significant problems.
Verifying the Gas Cap
One of the most common and simplest checks involves the gas cap. A loose or damaged gas cap can trigger the check engine light. Ensuring that it is properly tightened can often resolve the issue.
If the cap appears damaged, consider replacing it. Gas caps are inexpensive and easily found at auto parts stores. After securing or replacing the gas cap, drive for a bit to see if the light turns off. Sometimes, it may take a few trips for the system to reset.
Noticing the Light’s Behavior
Paying attention to whether the check engine light is flashing or solid helps determine the severity of the problem. A flashing check engine light usually signals a severe issue that needs immediate attention. Driving with a flashing light can cause more damage, so it’s best to stop the vehicle safely and call for assistance.
A solid check engine light indicates a less urgent issue but should still be checked out soon. In either scenario, using an OBD-II scanner or visiting an auto shop for a diagnostic can pinpoint the exact problem.
When to See a Professional Mechanic

Certain engine problems require immediate attention to prevent further damage and costly repairs. Knowing when to consult a professional mechanic can save both time and money.
Identifying Serious Engine Problems
Fluid leaks, unusual engine noises, or visible smoke suggest significant issues that a professional mechanic should address. These signs often indicate deeper problems within the engine components, requiring specialized diagnostic tools available at a dealership or repair shop.
If the check engine light flashes instead of staying steady, it points to a severe issue that needs urgent attention from a qualified mechanic. Ignoring a flashing light can lead to engine misfires or more significant damage. Proper diagnostic and repair techniques performed by professionals ensure that the vehicle remains safe and functional.
DIY: Resolving Minor Check Engine Light Issues
Addressing minor check engine light issues often involves simple fixes such as dealing with a loose gas cap or replacing spark plugs and wires. Understanding these straightforward tasks can save both time and money.
Replacing a Loose Gas Cap
A loose or damaged gas cap is a frequent cause of a check engine light. To resolve this problem, start by turning off the vehicle. Locate the gas cap, usually to the left or right side of the vehicle, and unscrew it.
Inspect the gas cap for any visible damage such as cracks or worn-out threads. If the cap is damaged, purchase a new one from an auto parts store. If it’s just loose, ensure it is fully tightened by turning it until you hear a click.
After securing or replacing the gas cap, restart the vehicle to see if the check engine light goes off. It might take a few miles of driving for the system to reset. If the light remains on, further diagnosis may be required.
Changing Spark Plugs and Wires
Faulty spark plugs and wires can trigger a check engine light due to misfires in the engine. To fix this, start by purchasing the correct spark plugs and wires for the specific vehicle model.
Turn off the vehicle and allow the engine to cool. Locate the spark plugs, usually found along the engine block’s top. Carefully remove the spark plug wires by pulling the boot, not the wire itself, to avoid damage.
Using a spark plug socket and wrench, remove the old spark plugs. Replace them with new ones, ensuring they are snug but not overly tight. Reattach the spark plug wires in the proper order to avoid misfiring.
Turn the vehicle back on and check if the check engine light is off. If the light persists, further investigation may be needed.


